
How to Dermaplane at Home for Smoother, Brighter Skin
Everything You Need to Know About Dermaplaning at Home

If you’ve ever wondered how people get that smooth, almost airbrushed skin in real life, the answer might surprise you.
It’s not always a fancy facial. Sometimes it’s dermaplaning.
This simple technique removes dead skin and peach fuzz in minutes and can completely change how your skin looks and feels.
It’s quick, affordable, and easy to maintain.
But before you grab a blade, there are a few important things you should know.
In this guide, I’ll walk you through exactly how to dermaplane at home safely.
What is Dermaplaning at Home?
Dermaplaning is an exfoliating treatment involving a scalpel or dedicated tool to remove your facial hair and dead skin cells.

By removing dead skin cells and peach fuzz, you’ll have smoother skin which helps your skincare products absorb more easily and creates a smooth base for makeup.
It’s non-invasive, and while some people caution against dermaplaning yourself, I think it’s one of the best affordable procedures that you can recreate safely in your own home.
For a good visual example of how to dermaplane, check out this video:
Benefits of Dermaplaning at Home
Dermaplaning removes dead skin cells and is one of my favorite skincare practices because it’s quick, affordable, and you don’t have to do it that often.
By dermaplaning, you will:
Get rid of fine facial hair
Remove dead skin cells
Help your skincare products absorb more easily
Create an even base for your makeup
Create smooth skin
Plus, if you have a beard, you can also dermaplane for hair removal to line it up between visits to your barber.
Trust me, dermaplaning is the key to the glowing skin you’ve always dreamed of.
What You’ll Need for Dermaplaning at Home
Depending on how quick you are and the area you want to shave, the whole process should take between 5-20 minutes.
Take a few minutes to prep ahead of time and grab the following:
Makeup remover or oil-based cleansing balm (if applicable)

Image from tatcha.com 

Image from ulta.com Clean towel

Image from biossance.com One scalpel or specific dermaplane tool

Image from amazon.com 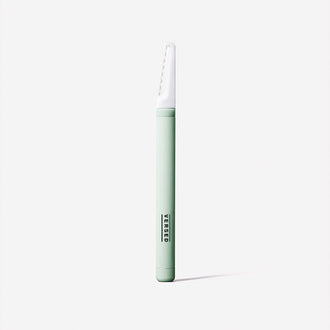
Image from versedskin.com Soothing serum (optional)

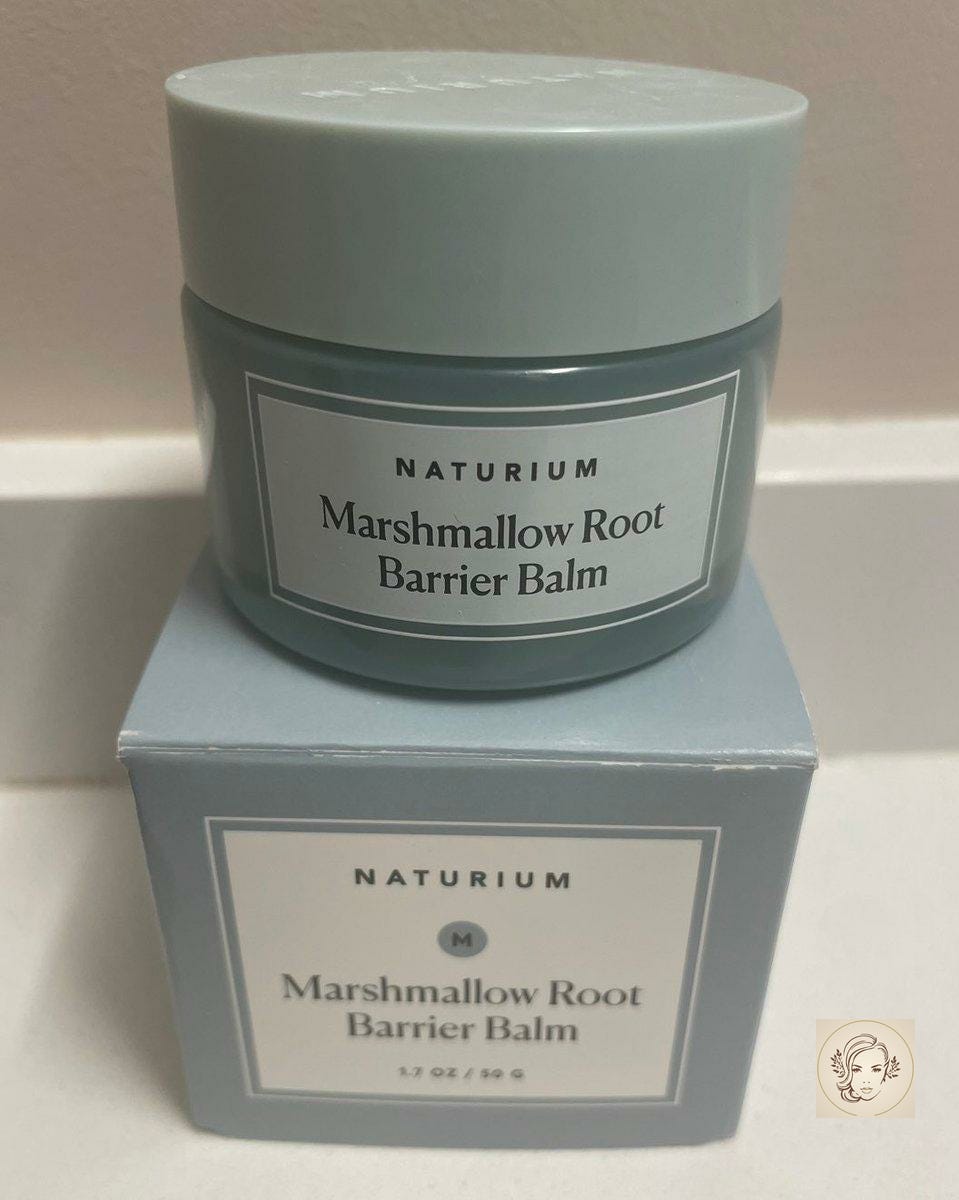
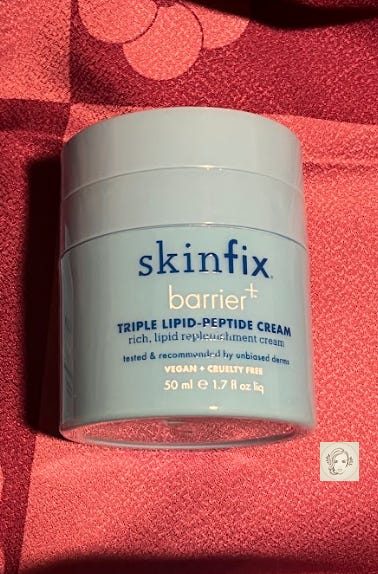
Image from laroche-posay.com Your favorite moisturizer

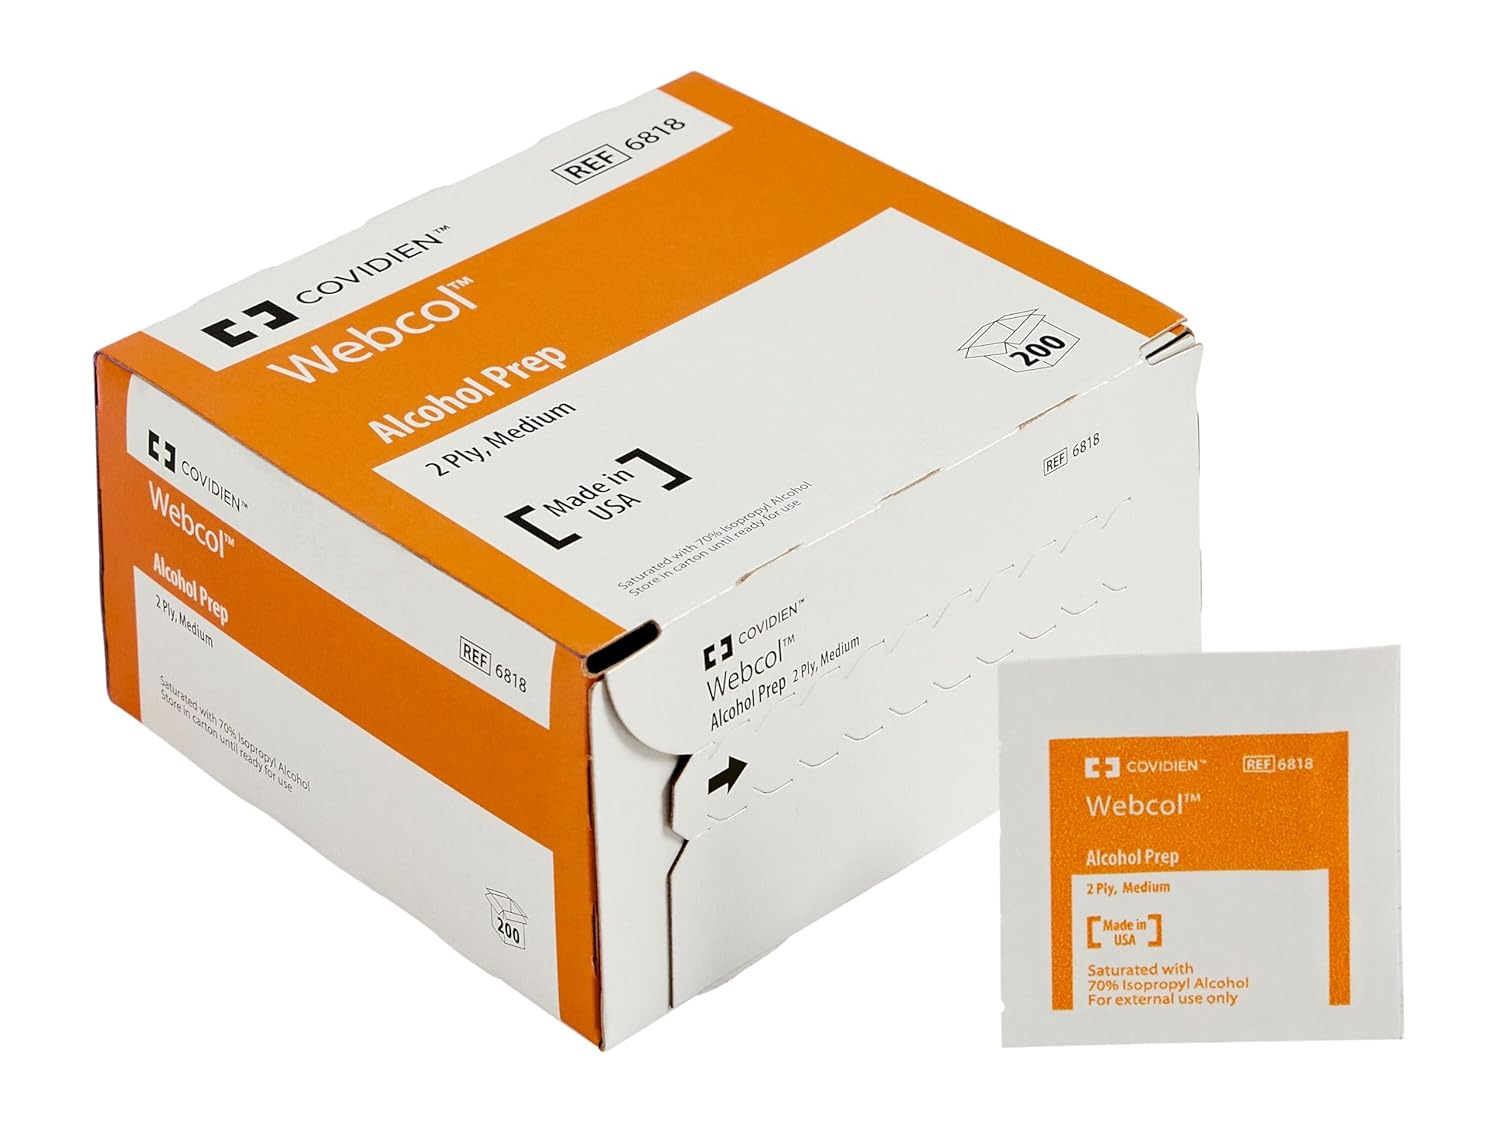
Alcohol pads to clean your blade before, during, and after use.

Image from amazon.com


While I’ve used scalpels in the past, I strongly recommend getting a dedicated dermaplaning tool as the angled blade reduces your chances of cutting yourself by accident.
How to Safely Dermaplane at Home
First, remove any makeup with a cleansing balm (if applicable) and wash your face thoroughly with a gentle cleanser.
We want to be gentle when we dermaplane, so opt for a hydrating cleanser or at least one without harsh ingredients like microbeads, salicylic acid, and ilk.
Then, either gently pat your face dry with a clean towel or let it air dry.
Now, apply a few drops of your face oil to the area you’ll begin your dermaplaning session and gently massage it into your skin.
Fawn’s Note: Some people like to dermaplane on dry skin. I’ve tried both ways, and I prefer to layer some oil to prevent scratching my skin or causing other unwanted damage.
If you’re using a disposable blade, safely remove it from its packaging.
If you’re using a reusable blade, wipe it down with your alcohol pad.
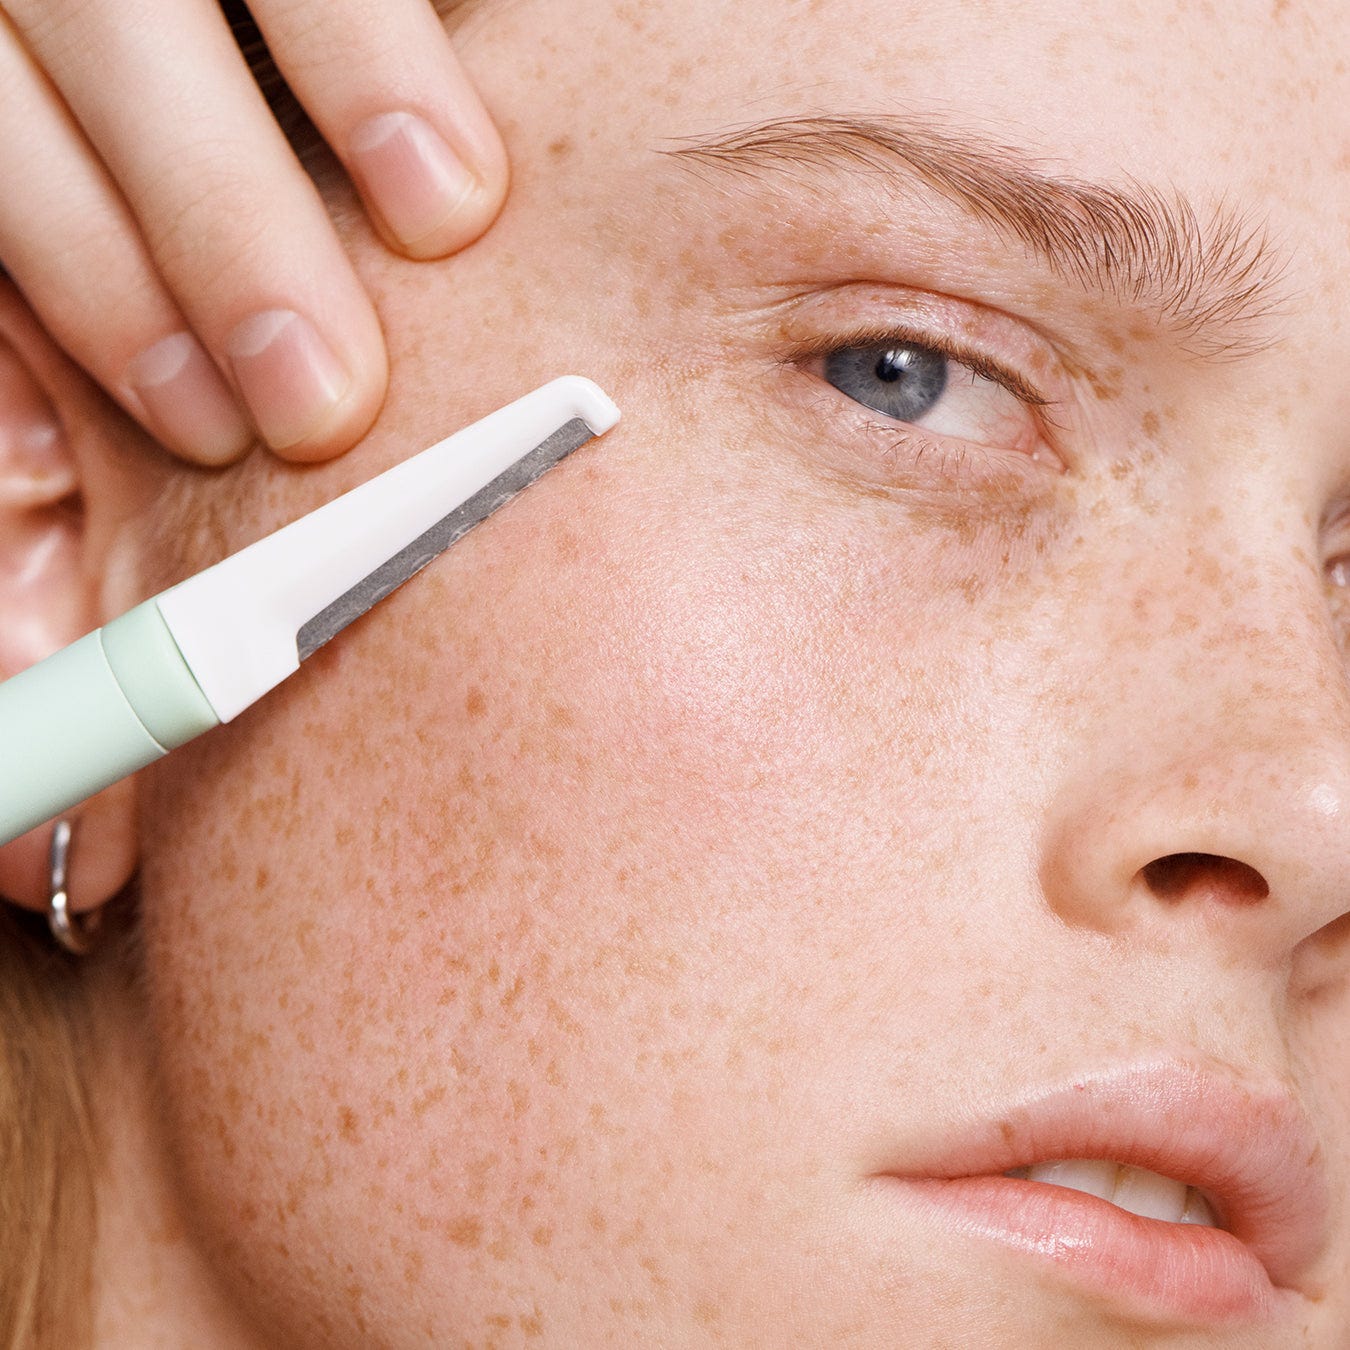
Pull your skin taut between your fingers with one hand, and slowly use your dermaplaning tool to remove the hair with short, precise motions with the other.
Repeat this same process until you’ve finished dermaplaning to your satisfaction, being careful not to nick your:
eyes
neck
mouth
or ears
Finally, if you have a reusable dermaplaning tool, wipe off your blade with an alcohol pad.
Otherwise, dispose of your tool or blade safely.
How often should you dermaplane face at home?
I don’t dermaplane more than once per week, sometimes only biweekly.
If you have sensitive skin, you might be better off dermaplaning only once or twice per month.
You’ll have to experiment and see what frequency works best for you, but I suggest no more often than once per week.
Tips for Dermaplaning Safely At Home
If you’re nervous, make sure you dermaplane in a room with a well-lit room and plenty of mirror visibility.
If you go slowly and are patient, it’s unlikely you’ll cut yourself by accident – just stay focused.
I’ve nicked myself a few times before (typically in the neck area), and it’s always been an issue of going too fast and not paying attention to the position of the blade.
Dos & Don’ts for Dermaplaning at Home
Don’t dermaplane over active acne, you’ll spread bacteria around and risk infection
Do stay focused – it’s easy to cut yourself with a scalpel if you get distracted
Don’t use any harsh active ingredients when you dermaplane (ex. salicylic acid, retinol)
Do use a soothing serum, moisturizer, and your favorite facial oil after dermaplaning as your skin will be more sensitive than usual
Don’t shave over your lips; take caution when shaving around your nose and mouth area
Do use a sharp blade instead of a more blunt tool. You’re less likely to cut yourself with a sharp tool!
Can I use glycolic acid after dermaplaning at home?
No, you should not use glycolic acid after dermaplaning at home.
Since dermaplaning is already one form of exfoliation, you should not combine other exfoliating treatments with it.
Instead, consider using a soothing serum and nourishing moisturizer after dermaplaning and using glycolic acid on an alternate night.
Can I use retinol after dermaplaning at home?
No, you should not use retinol after dermaplaning at home.
Dermaplaning can irritate your skin, and applying retinol can further exacerbate side effects like dryness, flakiness, and irritation.
Instead, be sure to apply a moisturizer with ceramides and facial oil after dermaplaning and leave your retinol serum for another night.
How long after dermaplaning can I use retinol?
You should wait at least 8-12 hours after dermaplaning before using any drying ingredients like retinol, salicylic acid, or even mandelic acid.
Can I use niacinamide after dermaplaning at home?
Yes, you can use niacinamide after dermaplaning at home.
In fact, studies show that niacinamide supports your natural skin barrier function and promotes wound healing, so it is an ideal ingredient to use after dermaplaning.
Can you dermaplane before microneedling?
You should keep your dermaplaning and microneedling practices for separate nights.
Both dermaplaning and microneedling can cause irritation and disrupt your skin barrier, so you should conduct these practices on alternate nights.
The Bottom Line: How to Dermaplane at Home
Dermaplaning can be one of the easiest ways to get smoother, brighter skin without spending a fortune.
When it’s done correctly, it removes dead skin and peach fuzz, helps your products absorb better, and gives your makeup a flawless finish.
But technique matters.
Take your time. Use the right tools. Work in good lighting. Go slowly and stay focused.
This is not something you want to rush.
If you respect the process and treat your skin gently, dermaplaning at home can be safe, simple, and seriously worth it.
Cheers,